Creating a creditor invoice and a Shipment
In this lesson you will learn about using the Accredo system.
After completing this lesson, you will be able to:
• Create a creditor invoice(shipment) with products.
• Create a creditor invoice(expense) without products.
Using Shipments
Shipments are used when receiving stock. There are two parts to a shipment: Receiving and Invoicing. When goods are received the Receipt and Lines tabs are updated and receipts posted to Inventory Control. When the Invoice is received the Invoice, Lines and Additional Costs tabs are updated and the invoice is posted to Accounts Payable.
Creating Shipments
A shipment (receipting stock and updating creditor invoices) can be generated from the Accounts Payable module or alternatively, from a Purchase Order)
To create a shipment without a Purchase Order:
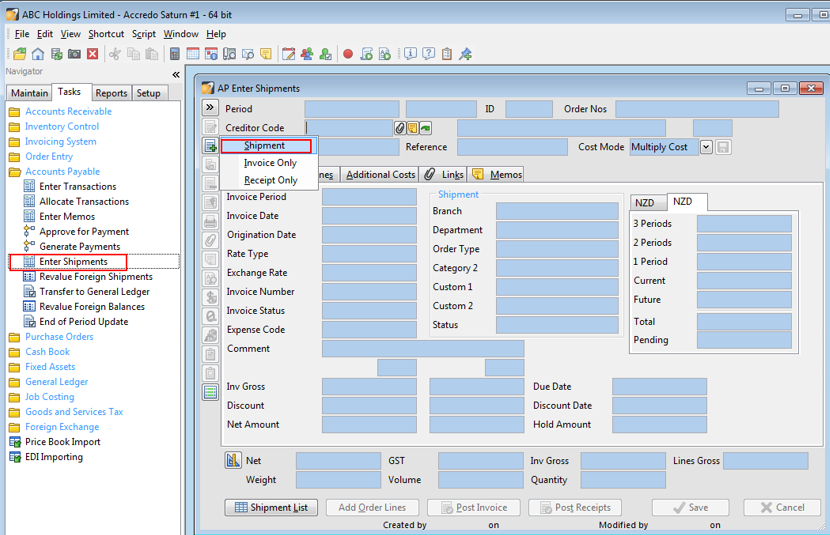
Tasks / Accounts Payable / Enter Shipments:
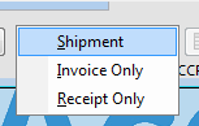
Select Shipment (This will create a creditor invoice and an associated batch of inventory receipts), Invoice Only (This will create a creditor invoice only allowing receipt to be carried out at a later stage), or Receipt only, this will create a batch of inventory receipts.
Select Creditor.
Enter the appropriate details in the Invoice tab.
· Important: Enter the invoice number here when received.
· Note: The Gross amount in the Invoice tab must be equal to the invoice gross (shown at the bottom of the page) in order to save the shipment.
Enter the delivery number in the reference field of the receipt tab when goods are received.
Use the Lines tab to enter the shipment detail.
·Note: Use the Zoom button (Ctrl + F12) to view each shipment line in a form.

·Additional Cost: Any additional costs such as freight, customs clearance fees, etc. These costs are added to the Unit Cost for the purpose of calculating the latest cost for inventory (See the later section on Additional Costs).
·Unit Sell: The selling price for the Job Costing transaction.
·Ext Sell: The extended selling price for the Job Costing transaction, calculated as Quantity x Unit Sell
Save (F9).

Note:
·To post receipt transactions to inventory click ‘Post Receipts’. This will update your Stock/Inventory counts.
·To post invoice transactions to Accounts Payable click ‘Post Invoice’. This will update your Accounts Payable.
Creating a shipment using Purchase Order details:
Maintain\Purchase Orders\Purchase Order List, Open the Purchase Order that needs to be receipted or invoiced:
Click the ‘Create Shipment’ button at the bottom of the Purchase Order screen.

Select Shipment.
Most details will be filled from the purchase order, fill out the other details as required.
Save (F9).
· Note:
To post receipt transactions to inventory click ‘Post Receipts’. This will update your Stock/Inventory counts.
To post invoice transactions to Accounts Payable click ‘Post Invoice’. This will update your Accounts Payable.
Additional Costs
Additional costs can be added to a Shipment to handle Internal and External Freight and other charges that you wish spread across the Products ordered.
Additional Costs can be spread on the Products cost or quantity (or physical volume or weight if these have been defined). The Manual method is for use with custom scripting.
You should add Additional Costs to a Shipment after adding the Purchase Lines, but before posting the Invoice.
During processing a Shipment...
Select the Additional Costs Tab.

Add Lines for any charges:
· Select a Creditor Code for the cost.
· Select a Cost code if relevant.
· Enter the amount of the cost.
· Under Type choose the method of cost spreading.
For External Charges (A Separate Invoice to be spread):
· Select the relevant additional cost.
· Click the “Insert Invoice for Cost” button. from the toolbar
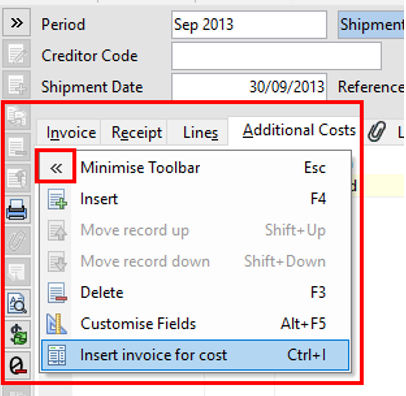
· An AP Invoice will be generated for you to code to expense. Fill out and Save.
· Return to the Shipment Form, select the Lines Tab.
For Internal Charges (A Charge on the same invoice to be spread):
· Return to the Lines Tab.
· Add a narrative line for the Internal Charge (In addition to the one entered in ‘Additional Cost’
· You don’t want to allocate the charge against this line, so click the “Manually Apportion” field on this line to tick it. (This field may be hidden - you can show it by customising the form. )
You should see that the total Additional Cost has been spread across the Products into the additional costs field.
If the Products have already been receipted you should click the ‘Update Costs’ button which will have replaced the usual ‘Post Receipts’.
Continue to process as normal
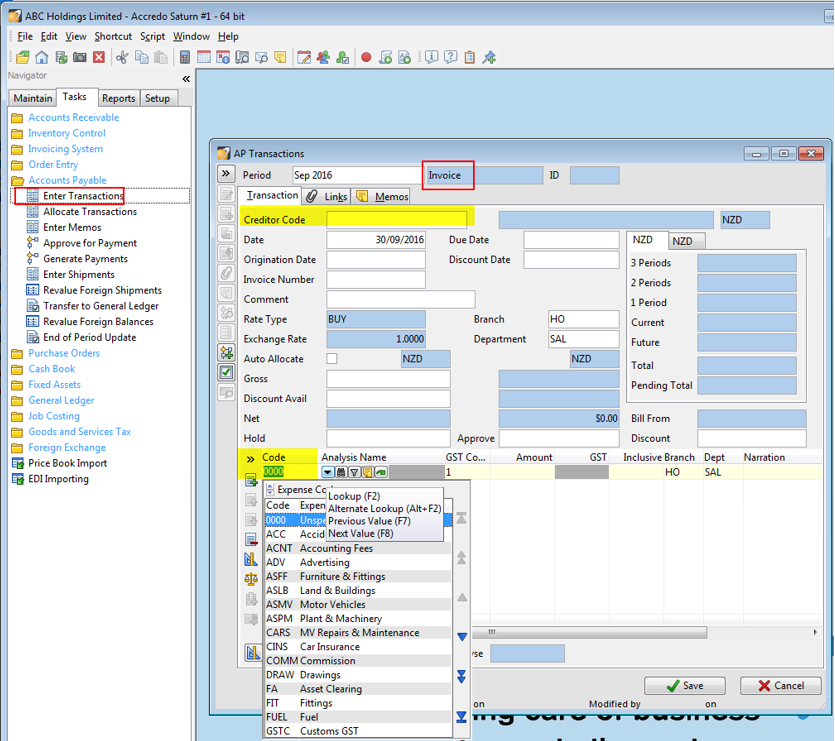
Create a creditor invoice(expense) without products
You can enter invoices and credits for expense related to a creditor, analysing to the appropriate GL expense codes.
Tasks\Accounts Payable\Enter Transactions, select invoice, pick a creditor and an expense code you want this invoice to go to.