Cashbook General
In this lesson you will learn about using the Accredo system.
After completing this lesson you will:
• Understand the Cashbook Module
Maintenance
Setting up Bank Accounts
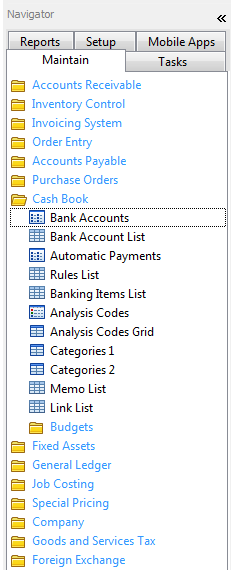
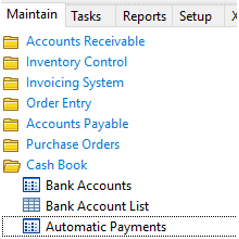
Maintain\Cashbook\Bank Accounts
‘Insert’ (F4)

Note: Click ‘Duplicate’ (Shift + F4) to insert a new account based on an existing accounts details
An existing Bank Accounts details can be changed by clicking ‘Edit Details’ (F11)

Enter the Bank Account number and name
The G/L Account number refers to this bank account General Ledger account number
‘Save’ (F9)

Maintain\General Ledger\Accounts. Note: Click ‘Duplicate’ (Shift + F4) to insert a new account based on an existing accounts details. Align with account set up in CB. Setting up the bank account in CB also needs to completed in the GL.
Setting up Automatic Payments
Maintain\Cashbook\Automatic Payments
‘Insert’ (F4)

Click ‘Duplicate’ (Shift + F4) to insert a new Automatic Payment (AP) based on an existing Payments details

An existing AP’s details can be changed by clicking ‘Edit Details’ (F11)

Enter the relevant details in the top panel
Note:
The ‘Frequency’ and ‘Days or Months’ fields control the dates of Payments (For example: An AP lodged every week would have 7 in the ‘Frequency’ field and Days in the ‘Days or Months’ field.
‘Next Payment Date’ refers to the date the next payment is due. Editing this date can be useful if for example you wish to miss a payment
‘End date’ is used to specify the date for the final payment of this AP (This field can be left blank for open ended AP’s with no termination date)
The analysis grid at the bottom of the AP screen contains the lines for the AP. Typically at least one line will be used for the Amount and another any Bank Charges if applicable
Tasks
Entering transactions
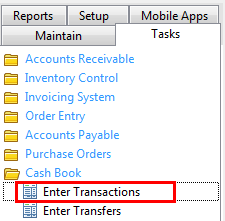
Tasks\Cashbook\Enter Transactions
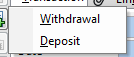
Select Withdrawal or Deposit
Note: Entry requirements are very similar for all selections
Enter the relevant details into the top panel
The analysis grid at the bottom of the screen contains the lines for the transaction. Lines entered in this grid must add up to the amount entered in the top panel. (Balance to Analyse must be zero)
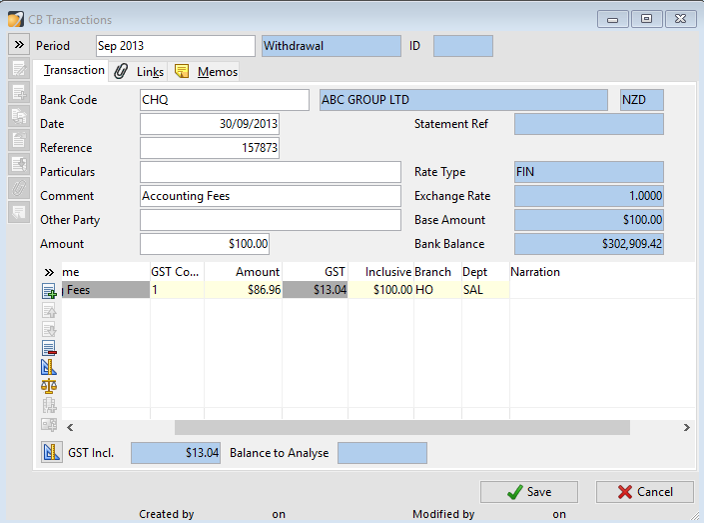
‘Save’ (F9)

Banking Summary
This allows you to produce a report detailing all deposits for a banking based on the receipts entered into Accounts Receivable.
Tasks\Cashbook\Banking Summary
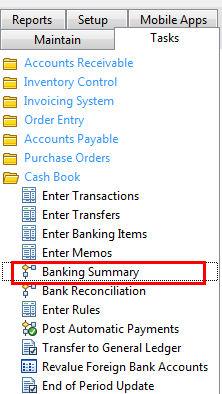
The lower half of the Banking Summary Screen – the Unbanked section - will contain any receipts that have been processed and not marked as bank through at the time of receipt
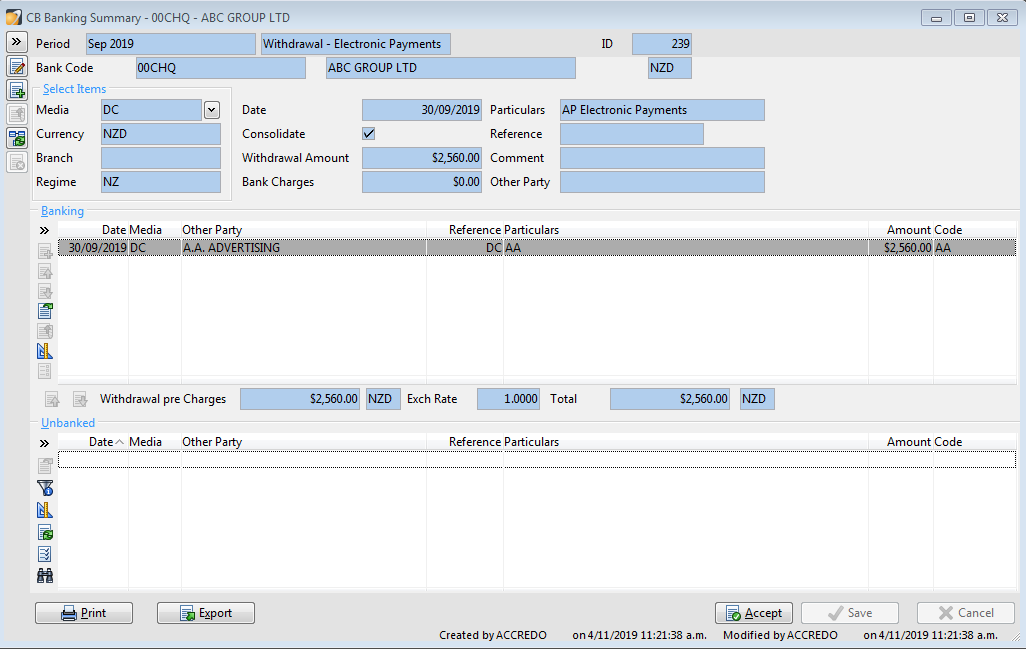
To select each receipt to be included in the banking click on the line and use the Bank (Ctrl+UP) button to move the receipt to the top section for Banking

If you want to unselect a receipt item use the Unbank (Ctrl+Down)

When you have selected all items for banking click on Save and Accept to confirm and print the reports for the office and the bank.
Two copies of the summary (Bank and Office copy) are available by clicking the print button.
This summary will then appear in the bank reconciliation as one amount
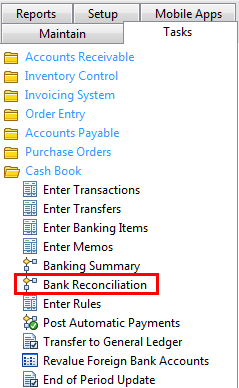
Banking Reconciliation
Tasks\Cashbook\Banking Reconciliation
The selection screen allows you to view all previous bank statements entered in Accredo.
You can click on the ‘Selection’ option to view historic statements (Closed) or current statements (open)
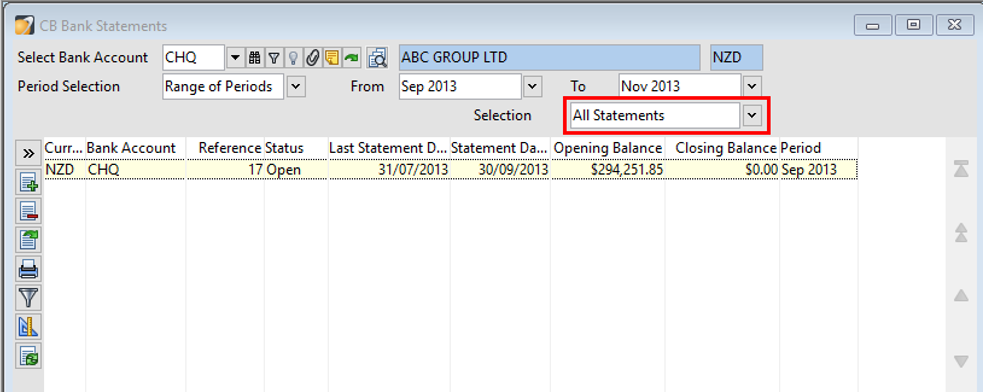
‘Select Bank Account’ (from top of screen) to reconcile
Click Insert (F4)

Click ‘Edit details’ (F11)
The screen is split in three
The top panel: shows bank statement details. The left side of the screen shows the last bank reconciliation. The right side requires details of the current reconciliation to be added.
The middle grid: shows details of the pending reconciled items. Following the reconciliation process this grid must equal the bank statement details (For example: ‘Balance to reconcile’ should equal zero).
The bottom grid: contains all unreconciled transaction.
Bank Statements Reconciling
Insert lines according to the real bank statement, or
Click on the import button to Import the bank statement previously downloaded from your bank, Please see the notes “Import the bank statement into Cash Book” for further information.
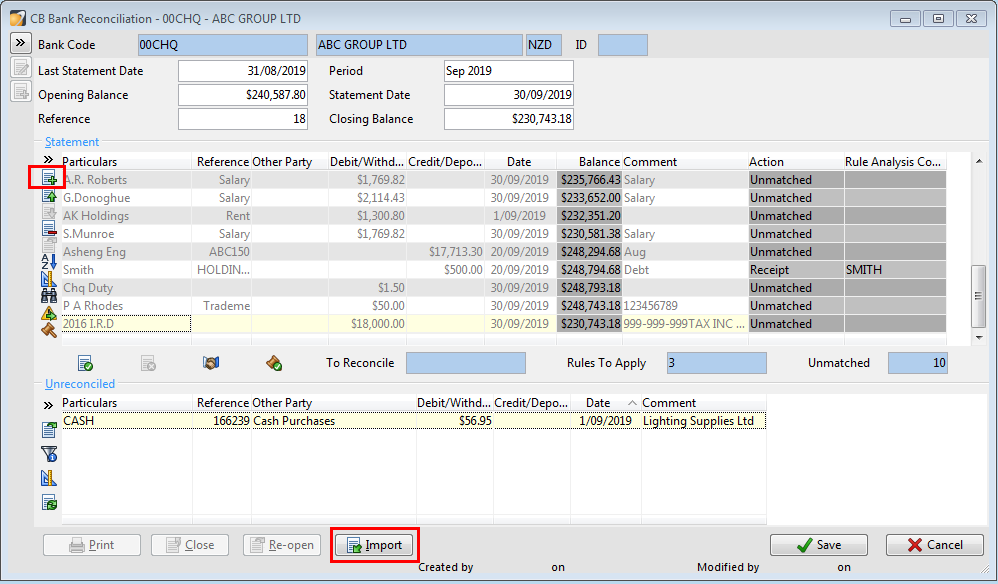
Reconciliation consists of moving transactions from the bottom grid to the top grid until they agree with the details in the top panel

Use Unmatch (Ctrl+Down) to unreconciled any items previously pushed up into the top screen

Automatically Match All: Accredo will reconcile transaction from Bank import to current transaction in Accredo. (Help has conditions on this matching process)
Match with Current Transaction: To manually match Transaction, by selecting transaction in Middle Grid and selecting the matching in Bottom Grid and then pressing button
Reconcile: Select a transaction in the bottom grid and click button (Ctrl + Up) to move it to the top screen.
Unreconcile: Similarly, transactions can be un-reconciled from the top screen by clicking button (Shift + Down)

This is used if “Automatically Match All” has mismatched transactions
Note: To view a transactions details select the transaction and click ‘Open Details’ (F12)

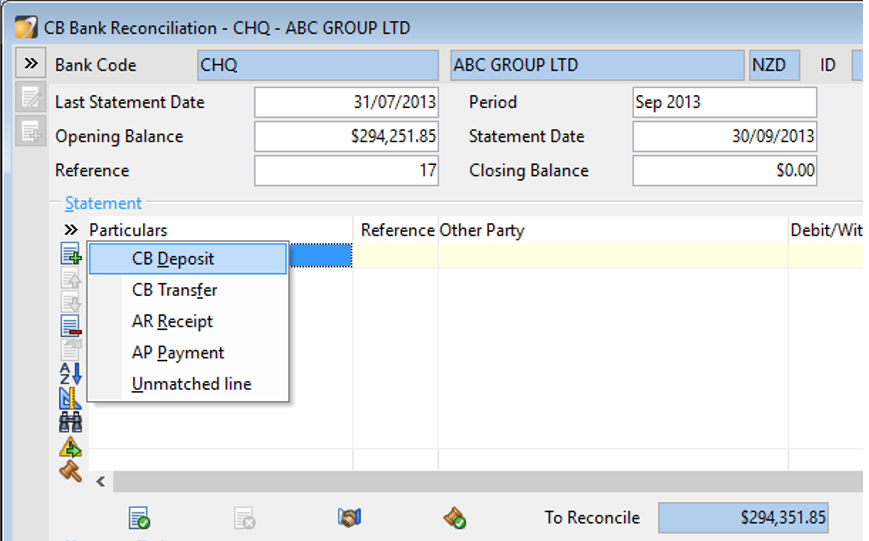
For entries on the bank statement but not included in the system (such as bank fees and interest) click ‘Insert’ (F4) and enter the transaction via CB Deposit or Withdrawal

You can also add an Unmatched Line to manually enter amounts and data if required.
Other deposits and withdrawals can be entered via AR Receipt or AP Payment if required
Note: Click ‘Save’ (alt + F9) to save the progress of a bank reconciliation to review at a later date.

When a bank statement has been completed it can be closed. ‘Close bank statement’

(Available when the ‘To Reconcile’ field is zero)

The ‘Print’ button prints a report of the currently constructed bank statement. (Alternative reports are available in the Reports Tab)

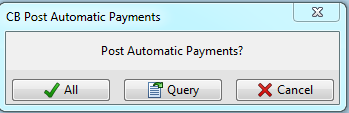
Post Automatic Payment
Tasks\Cashbook\ Post Automatic Payments

Click ‘All’ (F9) to automatically post all automatic payments due on or before the current system date
Click ‘Query’ (F12) to be asked before posting each automatic payment
Each individual transaction will be displayed in a new window
Click ‘Post’ (F9) to accept the transaction or;
Click ‘Skip’ (Escape)